

"A flower blossoms for its own joy."
- Oscar Wilde
The fleeting magic of spring inspired our latest Ask Martha tutorial.
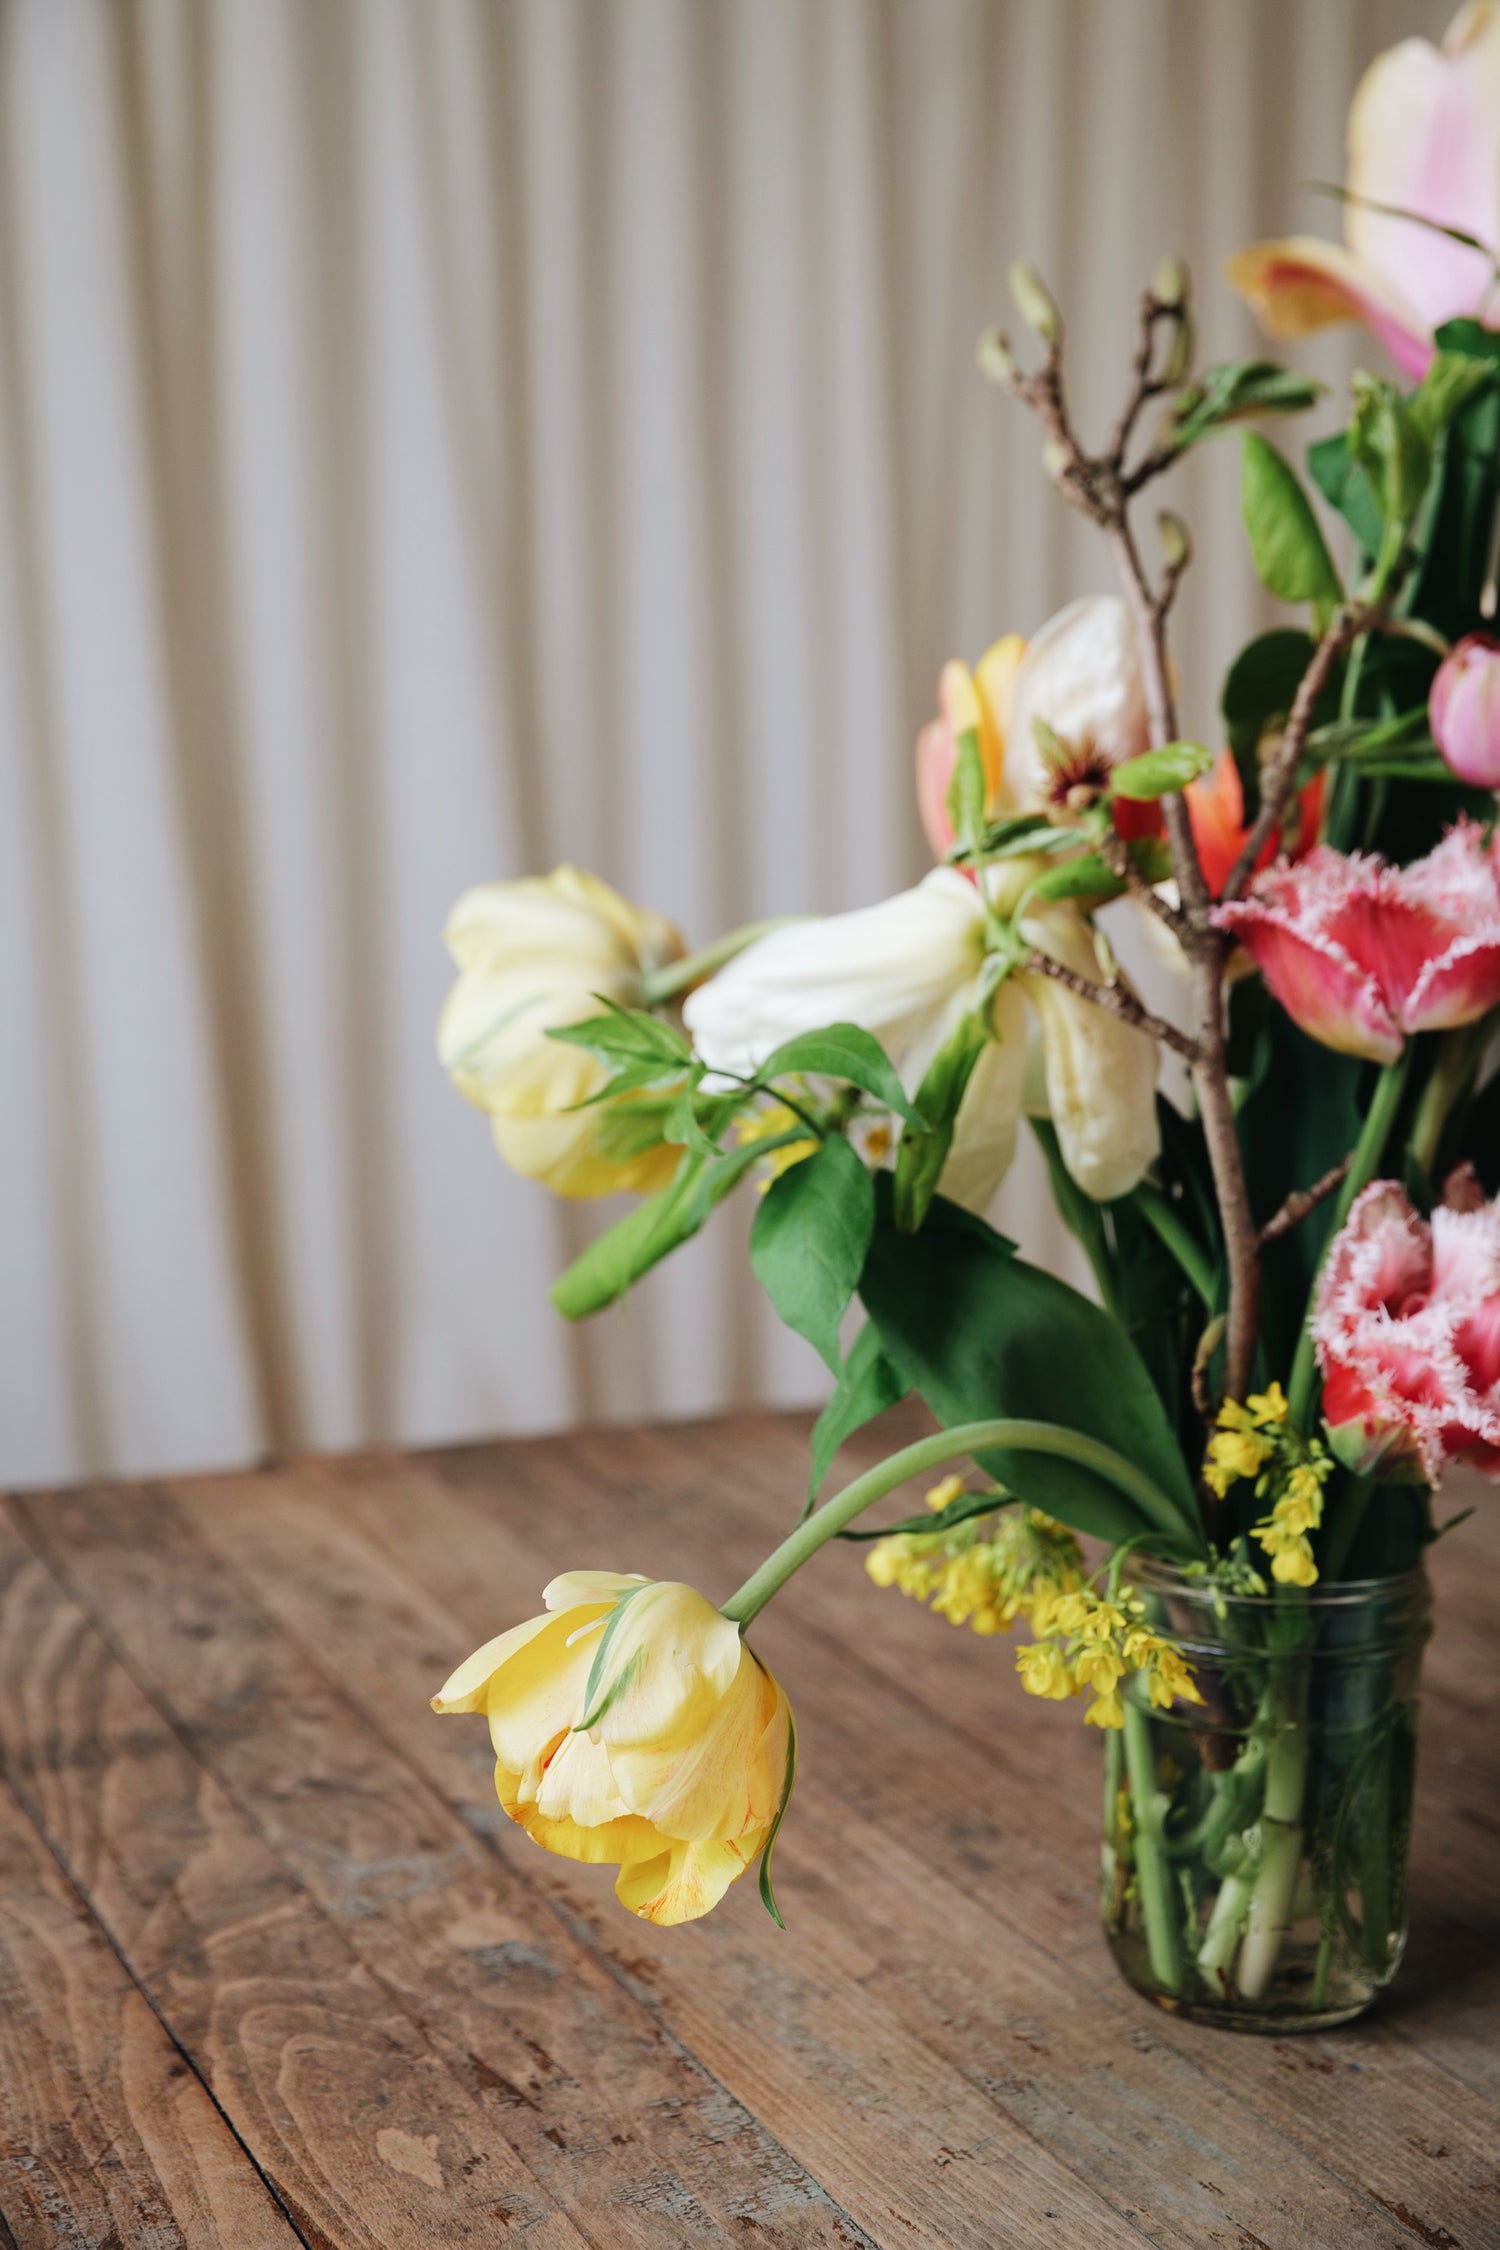
Tulips are a sign of hope and change. One of the first signs of spring we see here in the Midwest. After a monochrome winter, these candy colored bulbs emerge, bringing joy as you walk down the street. While their growing season is short, they remind us of nature's bounty that has yet to come.
Our local farmer's market and flower farming friends provided us with these stunning blooms. Though captured in a photograph, we wanted to further enjoy these spring flowers with a watercolor portrait.
Below you will find a video and written tutorial on how to paint your own tulip! These tips and tools can be used to paint other flowers of your choosing, as well.

Gather your supplies
For this portrait, we used:
- Beam paintstones - Fall Poplar, Milkweed, Pumpkin, Beach Rose
- Handmade watercolor paper
- Black Velvet watercolor brushes
- Studio Tools: The Petite Palette
- Studio Tools: The Wide Tool Holder
- Pencil
- Appointed eraser
- Brass Pencil Sharpener
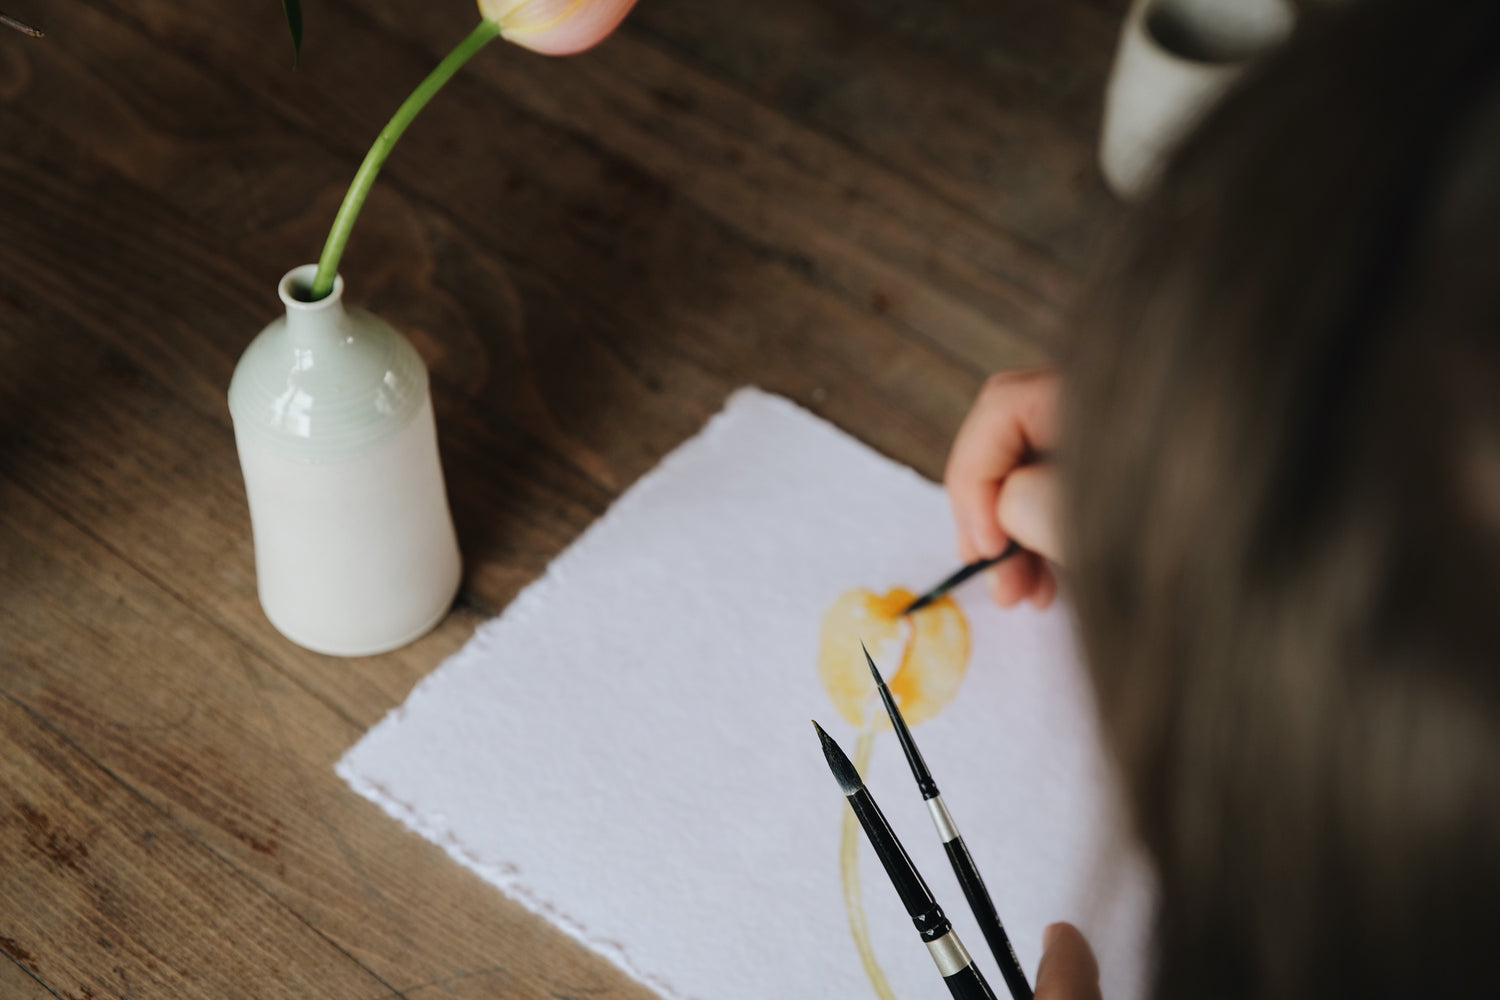
Step 1: Sketch subject with a pencil
Once you've gathered your materials and set up your painting space, choose a flower that speaks to you. Do you like the color? The movement? The shape? Place it in a vase and assess the light source.
Start by doing a light sketch of the tulip. This only should be the outline of your flower, no need for the tiny details here. Keep the movement flowing and your pencil light so it's easy to paint over. Don't be afraid to use your eraser!

Step 2: Mix your colors
Wet your watercolor brush and begin mixing your colors. Take a look at your subject, and choose a selection of paints that highlight the light, medium, and dark hues of the flower.
Mix your first color on your paint palette. Start with the lightest first. As you move to the next color, you can keep some of that first color on your brush. By mixing a little bit of each previous color into your next, you will create a harmonious color palette that translates beautifully on paper.
Step 3: Begin painting
Now that you have your colors, you can begin painting your flower! Start with the stem. Don't be afraid to alter the thickness on the inside of the stem. The irregularity mimics nature. Using a finer brush, paint over the outline of your stem. Use a slightly wet brush to blend the exterior lines. Keep a piece of paper towel handy to control the water level on the brush.
As you move to the petals, put your lightest pigment down first. This acts as the background and highlights. Use the white of the page for your brightest highlights. Look at where the light is hitting the subject, and begin bringing in darker colors to create depth. Still allow the lighter color to shine through in places.
Watercolor tip!
If you put some water down on your paper before you add the paint pigment, the colors will flow into each other allowing for soft blending. Simply use a wet brush to lightly paint over the surface before painting with a brush loaded with pigment.
If you add too much water, it will become difficult to paint with. But no worries! Step away for a few minutes and let it dry or press the surface with a clean paper towel (make sure not to rub as this can cause the paper to pill).
Step 4: Add final touches
After each color, wait a few minutes for the pigments to dry. Once your petal colors are down on paper and dried, go in with a fine tip brush to add intricate details.
Look at where the flower petals fold into each other and paint a fine line to add depth. Create some texture with a different brush style or dab a dry paper towel onto the petal to lift up some pigment. Little moments of white create highlights. Don't worry about being too precise. Nature isn't perfect, which is what makes it so incredible!
Now you've painted your very own tulip! This watercolor technique can apply to any flower you'd like to paint. If you want to share your artwork with us, we'd love to see it! Send us an email at info@marthame.info.

Paint a Tulip
-
Beam Paintstones
Regular price $15.00 USDRegular priceUnit price per

Dutch Tulip Bulb Market Bubble
Tulips have a storied past. In the late 1630s during the Dutch Golden Age, tulips became the most desirable flower. Seen as luxury items and status symbols, their popularity exploded - leading to the famous 'Tulip Mania', one of the first financial bubbles in history.
The price of tulip bulbs had been increasing from the start of the 1600s, but by 1636, the price of tulip bulbs skyrocketed, with some rare varieties costing as much as houses.
By early 1637, the prices had risen so high that nobody could actually afford tulips. Prices then collapsed and unfulfilled contracts led to years of dispute over tulip debts owed.