

"The leaves are all falling, and they're falling like they're falling in love with the ground."
- Andrea Gibson
A humble vegetable, the squash embodies softness and toughness. The curves, colors, and textures make for a beautiful painting subject. With endless varieties to choose from, squash can be painted all autumn and winter long.
Embrace the shifting seasons and cozy up with your paints, palette, and squash for an afternoon watercolor session. Mix the rich colors and take pleasure in creating different golden hues.
Below you will find a video and written tutorial on how to paint your own squash! We chose a honeynut for this portrait, but pick a squash that speaks to you. These tips and tools can be used to paint other autumnal vegetables of your choosing, as well.

Gather your supplies
For this portrait, we used:
- Gouache Paints
- Studio Tools Petite Palette
- Watercolor Paper
- Studio Tools Wide Tool Holder
- Kneadable Eraser
- Squirrel Quill Size 40
- Black Velvet Size 6 Script
- Black Velvet Size 1 Script
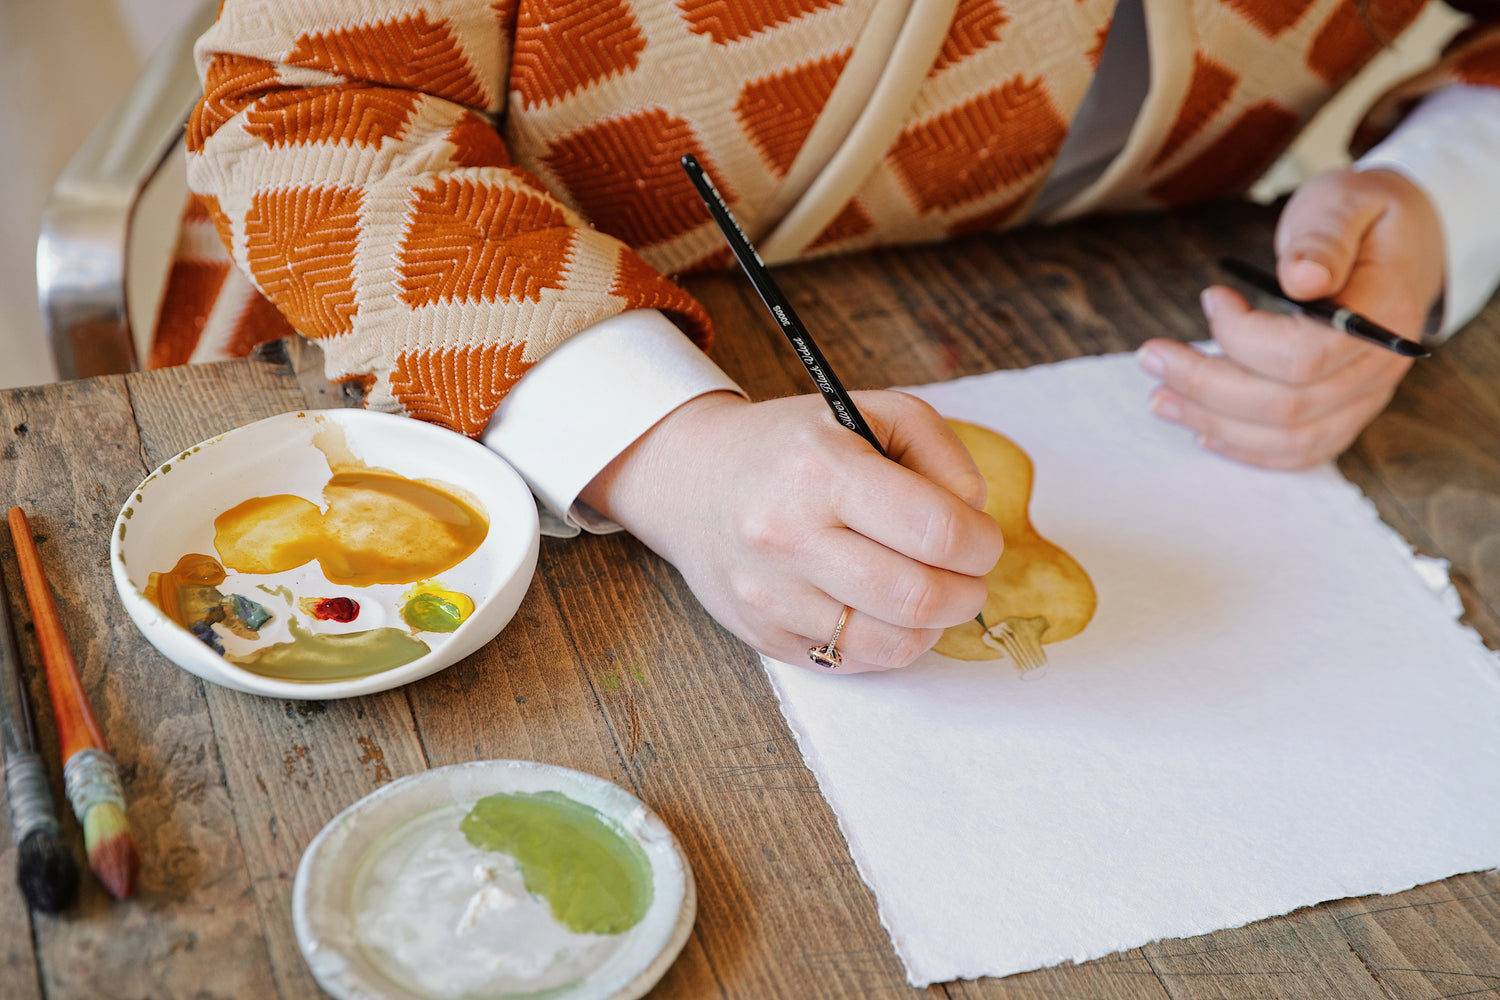
Step 1: Sketch your squash with a pencil
There are many varieties of squash to choose from. Determine which type you want to paint (and eat)! Inspect their colors and sizes.
Once you choose your subject, place it in the light and explore the shadows. Position yourself in a place where the light highlights and enhances the details and shape of the squash. It is better to paint during the day to take advantage of the natural light.
Start by doing a light sketch of the squash. This only should be the outline, no need for the tiny details or textures here. Keep the movement flowing and your pencil light so it's easy to paint over. Feel confident in erasing, altering, and starting over. You want this sketch to be light enough to paint over.


Step 2: Mix your colors
Wet your watercolor brush and begin mixing your colors. Take a look at your subject, and choose a selection of paints that highlight the light, medium, and dark hues of the squash.
Mix your first color on your paint palette. Start with the lightest first. As you move to the next color, you can keep some of that first color on your brush. By mixing a little bit of each previous color into your next, you will create a harmonious color palette that translates beautifully on paper.
You can use watercolor or gouache paints for your portrait. Since squash have a large surface area, make sure to mix enough paint for your portrait.
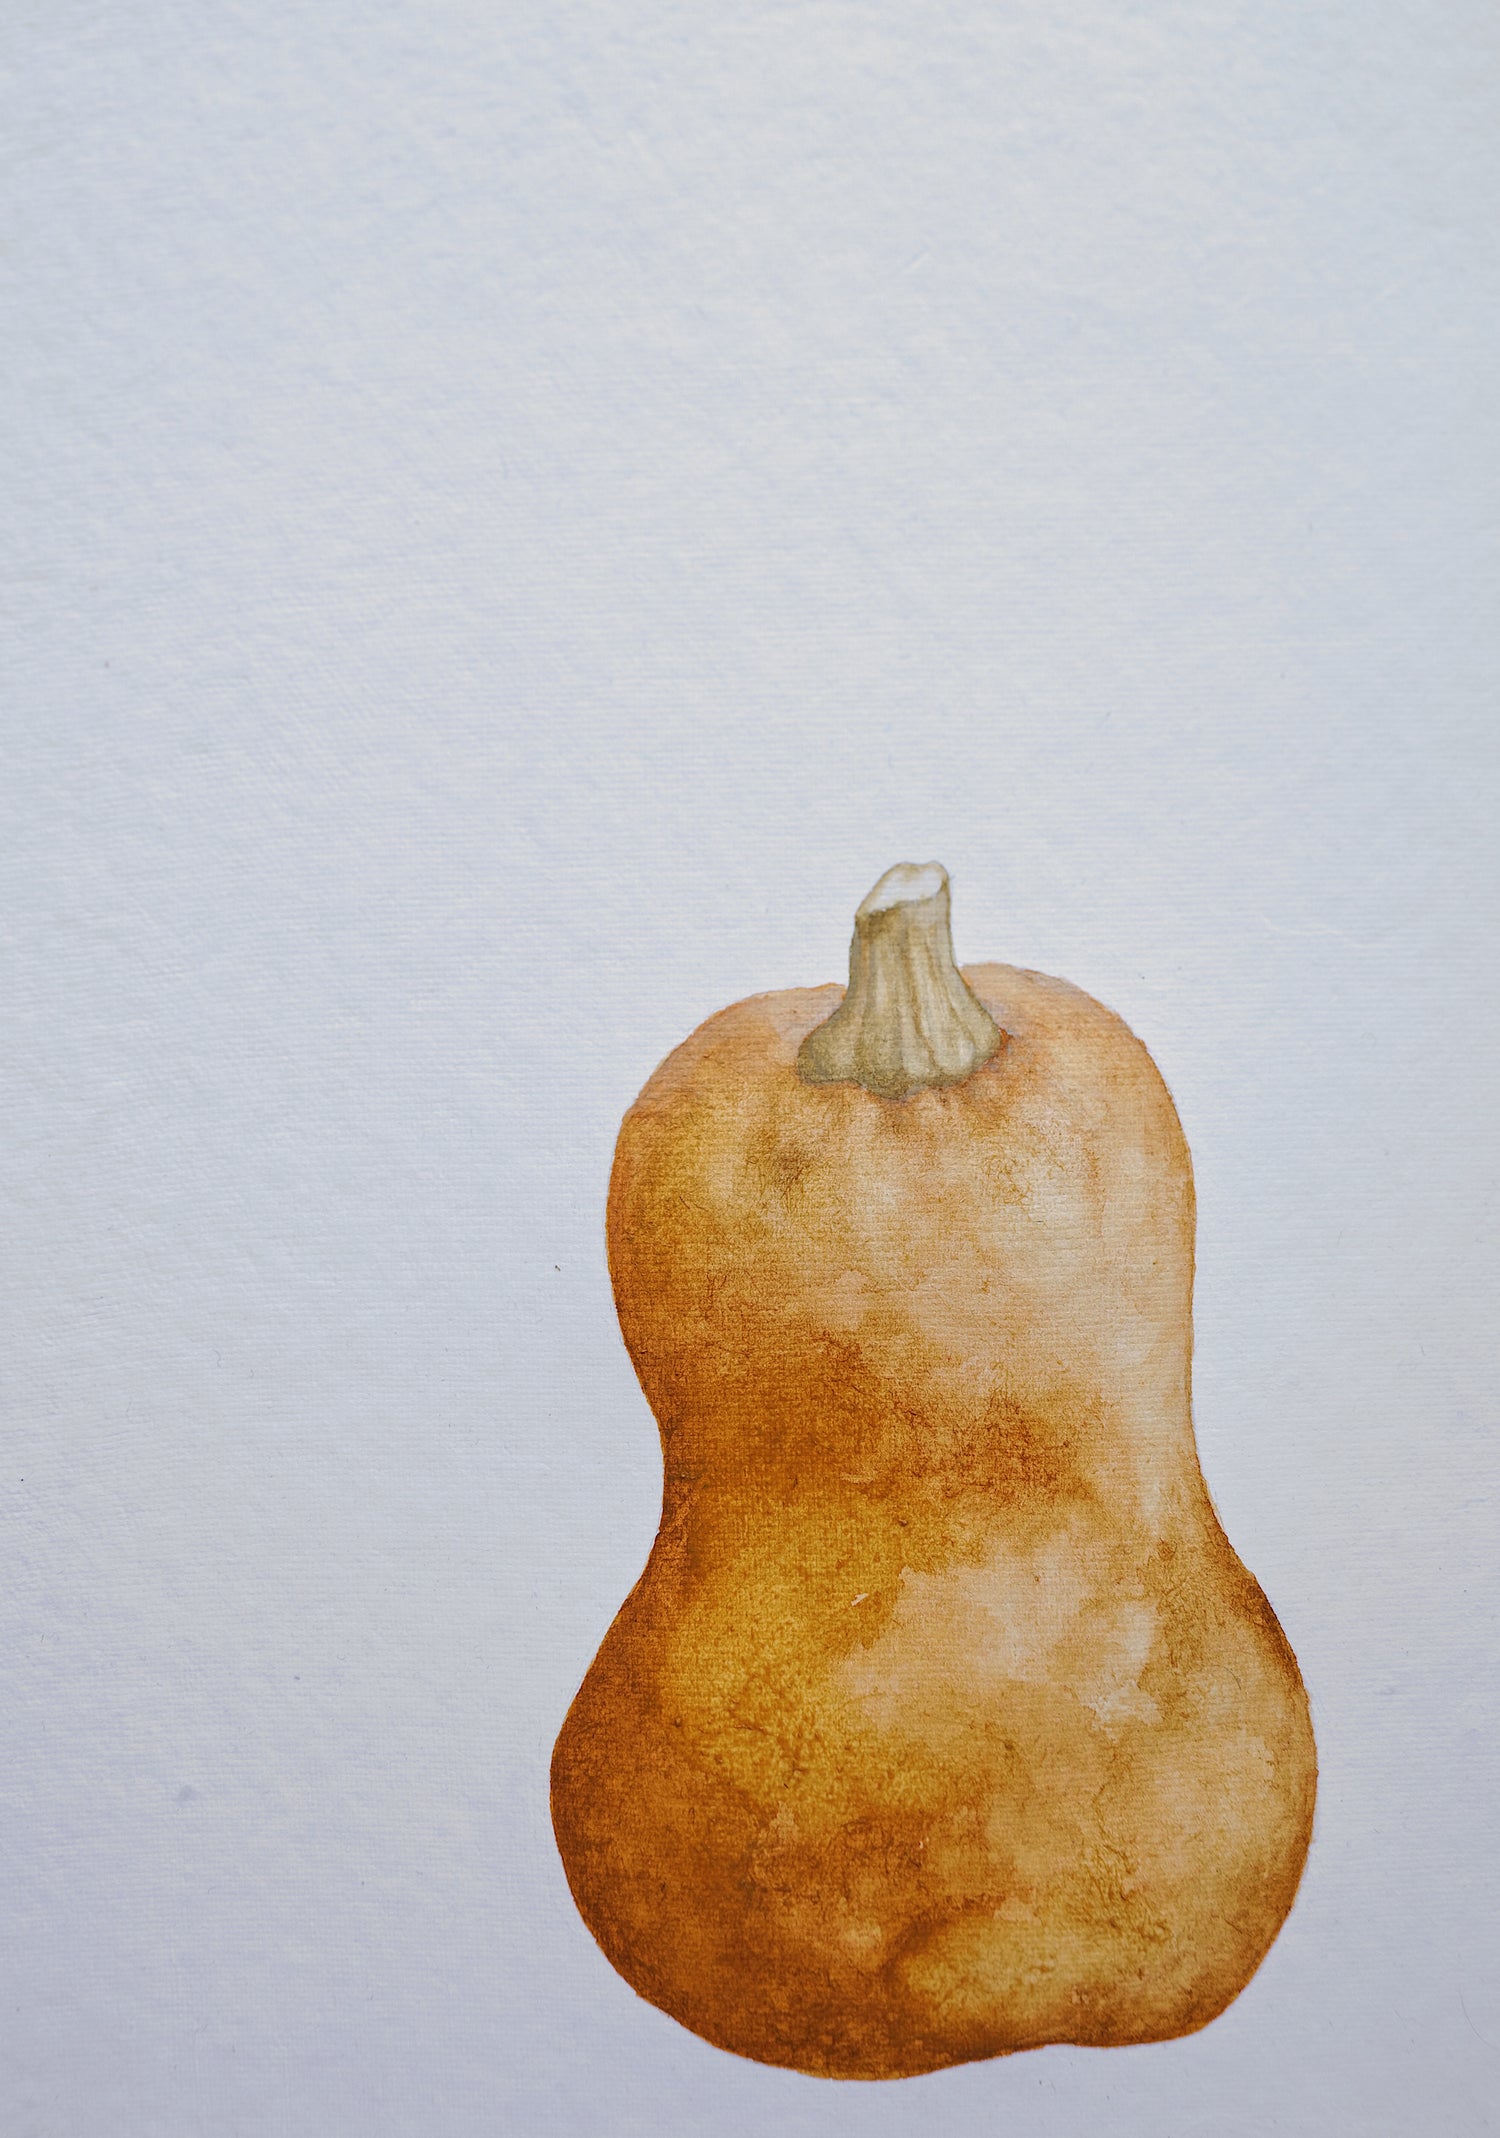
Step 3: Begin painting
Now that you have your colors, you can begin painting! Utilize the white paper to act as your highlights. Start with your lighter colors and create pockets of pigement. As you move to your next color, paint around your lighter color. Use clean water and a clean brush to blend. Your medium shade is great for textures and details, while your deepest shade will be used to depict the shadows. Allow the white of the paper and your lightest color to shine through where highlights show up on your squash.
Stems...
Whether you're painting squash, other fruits and vegetables, or botanicals, stems will appear. Take the time to add the small details for the most realistic outcome.
Start by lightly sketching the details on the stem. Are there veins or ribs? Does the stem lean to one side or is it straight up and down?
Examine the color of the stem and mix some additional pigments. Still bring in some of the colors from the squash body so that the palette feels cohesive.
As you start painting the stem, use a variety of different brush sizes to differentiate details. Flexible brushes lay down more color, while thin stiff brushes will take care of the fine lines. Since this is more detailed work, use very little pigment and water on your brush to ensure easy blendability.
Step 4: Add final touches
After layering the colors of your fruit body and stem, wait a few minutes for the pigments to dry. If there is a lot of water on your page, use a dry paper towel to blot. This will also create some texture and pick up pigment, which you can use to help create depth. Irregularity mimics nature, so there's no need for perfection here.
Now you've painted your very own squash! This watercolor technique can apply to any fruit or vegetable you'd like to paint. If you want to share your artwork with us, we'd love to see it! Send us an email at info@marthame.info.
If you'd like to join us for an in-person watercolor workshop, find tickets here for our November 10th Squash Study Workshop at the Martha Mae Studio. This will be an intimate morning watercolor class accompanied by coffee, tea, and pastries. Come meet other Chicago watercolor enthusiasts and spend the morning learning and creating together.

Paint a Squash
-
Squirrel Quill Size 40 - Watercolor Brush Series 5025S
Regular price $43.05 USDRegular priceUnit price per


A Squash Story
Squash is one of the oldest known crops, dating back 10,000 years. Both a nutrient rich ingredient and a hard material used to craft containers and utensils, squash have played a large role in the kitchen and the home.
With over 100 varieties of squash, each contains its own bit of history. The honeynut squash, painted here, was developed by a horticulture professor at Cornell University in the 1980s. A mix between a buttercup and a butternut squash, the honeynut is a smaller, sweeter variety.
If you purchased a honeynut squash for your painting and are looking for ideas on what to do with it afterwards, we love this recipe for Roasted Honeynut Squash with Hot Honey, Pecans, and Rosemary.